Insulated Glass (Thermos) Replacement: When and Why Should You Do It?

Insulated Glass (Thermos) Replacement: When and Why Should You Do It?
Foggy glass between window panes, a cold sensation near the frame, or water accumulating at the bottom of a window does not necessarily mean the entire window needs to be replaced. This guide to insulated glass replacement will help you distinguish a defective sealed glass unit from a weatherproofing or hardware issue, allowing you to choose a practical, long-lasting solution that addresses the actual problem.
For many homeowners in Greater Montreal and the North Shore, replacing insulated glass is an effective way to restore comfort without undertaking more extensive renovations than necessary. The goal is simple: replace the component that is no longer performing properly while preserving everything that is still in good condition.
When Is Insulated Glass Replacement Necessary?
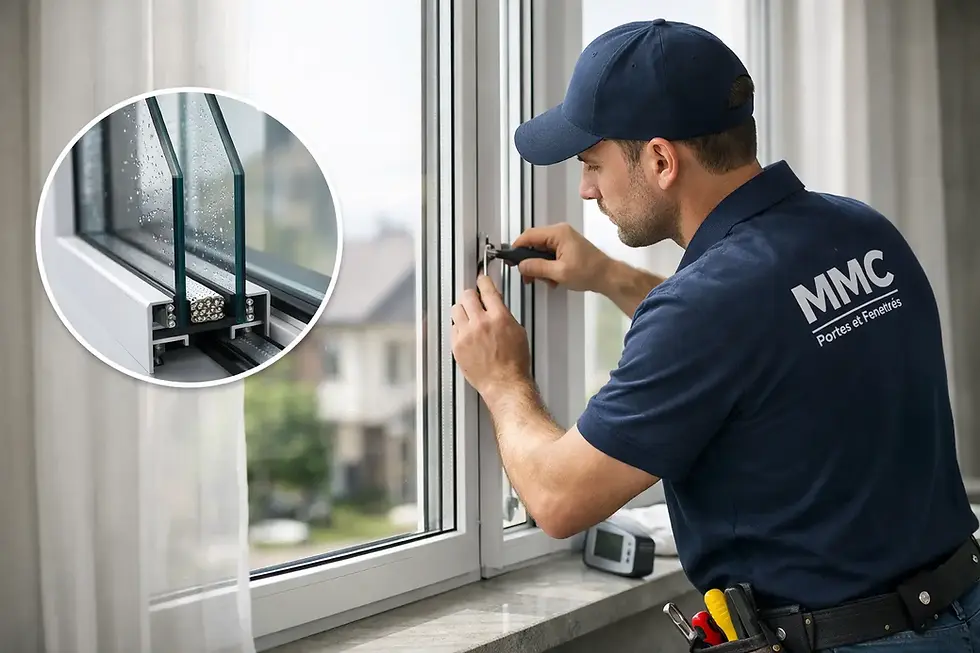
Insulated glass, commonly referred to as a thermos unit, consists of two or sometimes three panes of glass separated by a sealed space. This space improves thermal insulation and helps reduce condensation on the interior glass surface.
Over time, the seal around the insulated glass unit can deteriorate. Moisture can then enter between the panes, affecting both visibility and the insulating performance of the glass.
The most recognizable sign is condensation trapped between the panes. It may appear as a white haze, water droplets, or persistent stains that cannot be wiped away because they are located inside the sealed unit. This generally indicates that the glass unit has lost its airtight seal.
Other symptoms may warrant an inspection, including cold glass surfaces, localized drafts, unusual frost buildup, or frequent condensation on the interior surface.
However, an important distinction must be made. Condensation on the inside surface of a window does not always indicate a defective thermos unit. During winter, it may also be caused by excessive indoor humidity, insufficient air circulation near the window, or worn weatherstripping.
This is why an inspection before proceeding with repairs can help prevent unnecessary expenses. If the problem originates from the insulated glass unit, replacing it is appropriate. If air is entering around the window sash, weatherstripping, exterior sealant, or hardware adjustments may be the actual priorities.
Why Replace Only the Insulated Glass Unit?
When the window frame is structurally sound, the sash operates properly, and there is no significant damage, replacing the sealed glass unit is often the most practical solution.
The new insulated glass unit is installed within the existing frame, preserving the window's appearance and avoiding the unnecessary disposal of components that are still functional.
The first advantage is financial. Repairing or replacing only the defective component generally costs less than a complete window replacement.
It is also an environmentally responsible choice. By reducing unnecessary material waste, homeowners can extend the lifespan of their existing windows.
Another important benefit is improved comfort. A properly functioning insulated glass unit helps maintain a more consistent temperature near the window. Rooms become more comfortable, particularly those where cold temperatures are noticeable during winter or where excessive solar heat is experienced during summer.
However, replacing a thermos unit is not the solution in every situation.
A severely deteriorated frame, a warped sash, recurring water infiltration, or a window that no longer closes properly may require additional repairs.
A thorough assessment considers the entire window assembly, including the glass, frame, operating mechanism, weatherstripping, and drainage system.
The objective is to correct the cause of the problem rather than simply treating its symptoms.
Insulated Glass Replacement Guide: The Steps to a Successful Installation
Replacing an insulated glass unit begins with precise measurements.
Each replacement unit must fit the existing opening exactly. The width, height, glass thickness, and type of finish must all be carefully verified.
Inaccurate measurements can lead to installation difficulties or compromise the final seal.
1. Evaluate the Overall Condition
The technician first determines whether the condensation is actually located between the glass panes.
The frame, glazing beads, seals, and operating mechanism are also inspected.
This assessment can reveal weakened hardware or compressed weatherstripping that could reduce the benefits of installing a new thermos unit.
Sometimes, two problems occur simultaneously.
For example, the insulated glass unit may have lost its seal while the window sash no longer closes tightly enough.
Correcting both issues during the same service appointment can significantly improve airtightness and comfort.
2. Choose the Right Insulated Glass
The most sophisticated glass is not necessarily the best choice.
The appropriate insulated glass unit depends on the window's location, sun exposure, room usage, and desired results.
Different glass configurations can help improve thermal insulation, reduce solar heat gain, or provide additional privacy.
For windows exposed to strong sunlight, finding the right balance is important.
Glass designed to limit summer heat can be beneficial, but natural light and winter comfort must also be considered.
The objective is to select a solution that meets the actual needs of the room rather than choosing an option without considering its intended use.
3. Remove the Defective Glass Without Damaging the Frame
Removing an insulated glass unit requires care and precision.
The glazing beads or mouldings holding the glass in place must be carefully removed to preserve the existing frame and allow for proper reinstallation.
The surrounding area is then cleaned, and the supporting surfaces are inspected before the new thermos unit is installed.
This preparation is essential.
If the setting blocks are incorrectly positioned or the glass is not properly supported, the sash may become difficult to operate, and unnecessary stress may be placed on the glass.
4. Install, Adjust, and Verify the Seal
The new insulated glass unit is installed using appropriate setting blocks and secured with the existing retaining components.
The final adjustments include checking the window's operation, closing pressure, and alignment.
When necessary, weatherstripping and hardware are also adjusted or replaced to ensure the window closes properly.
The desired result goes beyond simply having clear glass.
The window must also operate normally and provide an effective barrier against cold temperatures, moisture, and air infiltration.
Common Mistakes That Can Cost Homeowners Money
One common mistake is waiting too long to address a foggy thermos unit.
Although condensation between the panes does not necessarily cause immediate damage to the frame, it indicates a loss of insulating performance that will not correct itself.
When moisture or water infiltration problems are left unresolved, identifying their exact source can become increasingly difficult.
Another mistake is confusing a defective insulated glass unit with interior condensation.
Having to wipe moisture from the inside of a window every morning does not automatically mean the thermos unit has failed.
Before making a decision, it is important to determine where the condensation forms, check indoor humidity levels, and ensure adequate air circulation near the window.
Finally, homeowners should avoid replacing one component without checking the condition of the surrounding parts.
Installing new insulated glass in a window with worn weatherstripping or a faulty closing mechanism may only partially resolve the problem.
An effective repair addresses all components that directly influence the window's airtightness and long-term performance.
How Much Does Insulated Glass Replacement Cost?
The cost of replacing an insulated glass unit varies depending on several factors, including its dimensions, thickness, configuration, frame type, and accessibility.
A small standard glass unit does not require the same amount of work as a large patio door glass panel or a specially shaped window.
The best way to compare your options is to request an assessment based on the actual condition of your windows.
A clear quotation should explain which components need attention and why.
This allows homeowners to determine whether replacing the thermos unit is sufficient or whether additional adjustments are recommended.
At MMC Portes et Fenêtres, our approach focuses on repairing what needs attention, preserving components that are still functional, and recommending long-lasting solutions.
For homeowners, this is often the simplest way to avoid unnecessary expenses while improving comfort.
If your windows are foggy, cold, or no longer as airtight as they once were, don't allow discomfort to become the norm.
A targeted assessment can help identify the problem and restore your insulated glass to its intended purpose: protecting your comfort throughout every season.
Need Help Replacing Your Insulated Glass?
Are your windows foggy between the panes, or has your insulated glass lost its effectiveness?
You don't necessarily need to replace the entire window!
In many cases, only the insulated glass unit needs to be replaced, allowing you to keep the existing frame while restoring clear glass and improving your home's comfort.
At MMC Portes et Fenêtres, we provide professional insulated glass (thermos) replacement services throughout Montreal, Laval, and the North Shore and its surrounding areas.
Our goal is to recommend durable solutions tailored to your needs, without unnecessary replacement work.
Request your quotation today!
Complete our contact form. You can then send us photos of your windows so we can assess your request and prepare your quotation.


Comments