Crank Window Adjustment Guide

A crank-operated window that rubs, does not close properly or requires unusual effort is not necessarily at the end of its useful life. In many cases, a targeted adjustment is enough to restore smooth operation and an airtight seal. This crank window adjustment guide will help you distinguish between simple adjustments and problems that require professional repair.
In Quebec, cycles of freezing, thawing, humidity and heat put considerable stress on window frames, weatherstripping and hardware. Addressing a problem at the right time can prevent wear on a small component from leading to a more expensive repair.
Start by Identifying the Real Problem
Before adjusting any screws, observe how the window operates. Open it slowly, then close it while watching the space between the sash and the frame. The sash is the moving part of the window. If it drops slightly when opened, rubs against one corner or the lock no longer lines up properly with the strike, the problem is often caused by sagging, poor alignment or worn hardware.
A crank that is difficult to turn does not automatically mean the mechanism is broken. Dirt buildup around the articulated arms, insufficient lubrication or a loose screw can create resistance. On the other hand, a crank that spins without engaging, a bent arm or a window that no longer stays open generally indicates a worn or damaged component.
Air infiltration requires a different type of inspection. Run your hand around the perimeter of the window on a cold or windy day. A draft may be caused by compressed weatherstripping, a sash that no longer applies enough pressure against the seal, or a problem with the exterior caulking. Adjusting the window alone will not correct a failed insulated glass unit or cracked exterior seal.
Crank Window Adjustment Guide: Useful Checks
Always start with a clean, dry window. Leaves, dust, insects and other debris can prevent moving components from operating normally. A soft cloth, small brush and vacuum with a narrow attachment are often enough to clear the tracks and mechanism arms.
Next, check the visible screws on the crank, hardware cover and articulated arms. They should be secure without being overtightened. A screw that is too tight can damage the threads or cause a component to bind. If a screw no longer holds properly in the material, tightening it further is not the solution; the attachment needs to be repaired correctly.
Next, apply a small amount of lubricant designed for window hardware to accessible pivots and joints. Avoid greasy products on weatherstripping and painted surfaces. Gently turn the crank several times to distribute the lubricant, then wipe away any excess. If the resistance remains unchanged or you hear metallic cracking or grinding sounds, the mechanism may have reached the end of its useful life.
Check the Sash Alignment
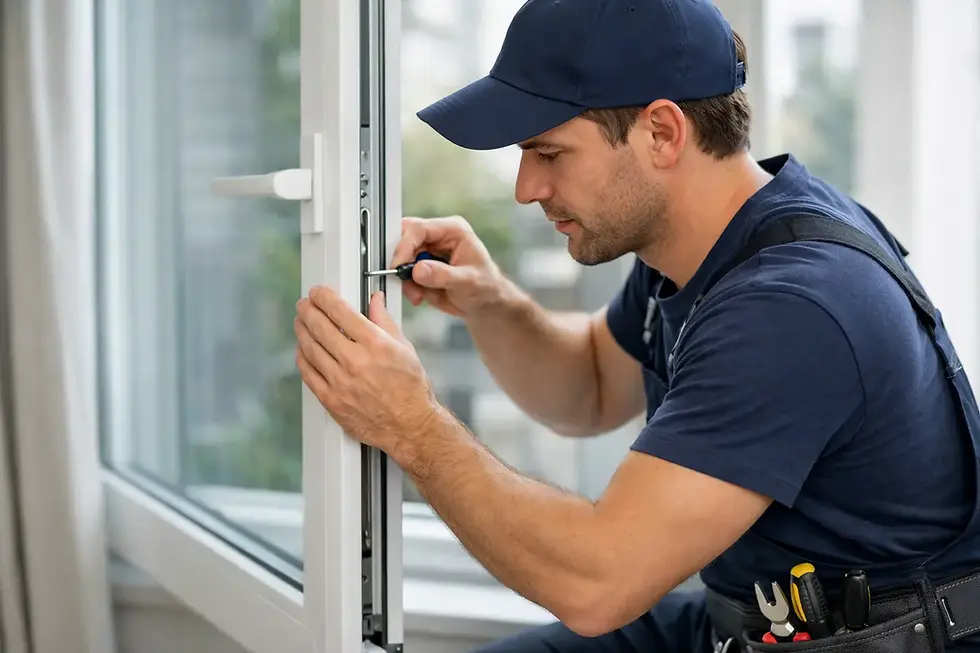
Close the window and examine the gaps on all four sides. A wider gap at the top on one side and a tighter gap at the bottom on the other often indicates a misaligned sash. Depending on the model, some hardware arms have adjustment points that allow the sash to be moved slightly upward, downward or sideways.
These adjustments should be very small. Work in quarter turns and test the window after each adjustment. The goal is not to force the sash into the frame, but to achieve consistent contact with the weatherstripping around the entire perimeter. An overly aggressive adjustment can place additional pressure on the hinges and shorten the life of the hardware.
If the sash feels heavy, has sagged significantly or the frame itself appears distorted, stop making adjustments. The problem may be caused by a bent window arm, a damaged attachment or movement in the frame. In these situations, repairing or replacing the affected hardware is often a more durable solution than simply adjusting it.
Adjust the Closing Pressure Without Crushing the Weatherstripping
A crank-operated window should close with reasonable pressure. If you have to pull hard on the lock to secure it, the sash is probably misaligned or the weatherstripping is being compressed too much. If the lock closes very easily but you can still feel a draft, there may not be enough pressure.
Adjusting the strike or lock can sometimes improve the pressure of the sash against the frame. Again, move the component only slightly and check the result. Proper closing should provide light, even resistance. It should neither require excessive force nor leave a visible gap between the sash and frame.
Weatherstripping that has hardened, cracked or flattened will not regain its effectiveness through a mechanical adjustment. Replacing it is a relatively simple repair that can directly improve comfort, reduce drafts and help limit condensation around the window. However, a profile that is compatible with the existing window must be selected to maintain proper compression.
What to Avoid When Adjusting a Window
The first thing to avoid is forcing the crank. When a mechanism jams, continuing to turn it can bend the arms or damage the internal gears. Instead, slightly open the sash, release the tension and check whether an obstruction or loose component is interfering with its movement.
Also avoid drilling new holes or adding improvised shims to the frame. These solutions may hide the symptom for a few weeks while making the alignment and sealing problems worse. A window that closes unevenly can also prematurely wear the weatherstripping and create entry points for water.
Finally, do not confuse fogging between the panes with condensation on the interior surface. Fog trapped between the panes is a sign of a failed insulated glass unit. Adjusting the crank will have no effect on this problem, which requires work on the glass unit itself. Interior condensation, on the other hand, is often related to indoor humidity, air circulation and glass temperature.
When to Have Window Hardware Professionally Repaired
A DIY adjustment is reasonable when the window still operates, the screws are accessible and the misalignment is minor. Professional repair is preferable, however, if the crank spins without engaging, the arms are bent, the sash no longer closes, or a component is cracked or has pulled away.
Professional repair is also a good choice when several symptoms appear at the same time: a stiff crank, rubbing, air infiltration and a misaligned lock. These problems may share a common cause, but correcting only one issue can transfer stress to another component. A proper diagnosis allows the hardware, weatherstripping, insulated glass unit and overall closing operation to be evaluated together.
For homeowners on Montreal’s North Shore and surrounding areas, where windows are exposed to significant temperature fluctuations, having repairs completed before winter can make a noticeable difference in everyday comfort. MMC Portes et Fenêtres focuses on restoring existing components whenever their condition allows — a practical way to extend the useful life of the window and avoid unnecessary expenses.
Keep Your Crank Windows Performing Longer
Light maintenance twice a year can significantly reduce the risk of sticking or jamming. Clean the hardware in spring and fall, check how the window closes, remove debris and inspect the condition of the weatherstripping. It is also a good habit to operate the crank smoothly and without sudden movements, especially when the sash is exposed to wind.
A properly adjusted window should not draw your attention. It should open smoothly, close correctly and protect your home from cold, moisture and drafts. As soon as its operation changes, addressing the problem early is often the simplest way to protect both your comfort and your budget.
Need Help?
Does your crank window rub, close poorly or become difficult to open? MMC Portes et Fenêtres can inspect the sash alignment, hardware and weatherstripping to identify the cause of the problem and recommend the appropriate repair.
Request an estimate to have your window assessed and determine whether a simple adjustment is enough or whether a component needs to be repaired or replaced.


Comments